|
Introduction
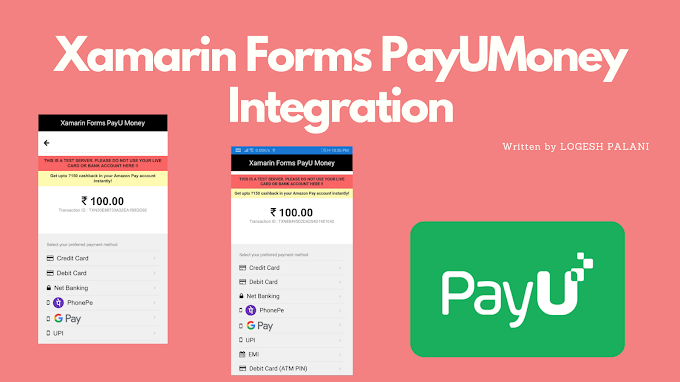
This article we are going to see, how to implement PayUMoney payment integration in Xamarin iOS. Before we start, I’ll do this payment gateway through WebView, I’ve tried to bind native library to Xamarin iOS Library, but my bad luck, it was a failure, so I have moved into WebView.
Prerequisites
- Visual Studio or Visual Studio for Mac
- PayUMoney Production or Test Key and Salt
Let’s Start
Step 1:
Create a new Xamarin iOS project in Visual Studio, for this sample I used Visual Studio for Mac. For that, Open Visual Studio for Mac and click New, in the left plane select App under iOS section and then click Create. In the new dialog window, give the project name, solution name, and location, then click Create.
Step 2 :
Open ViewController.cs file and create new UIWebView inside ViewDidLoad method and set the WebView frame equal to base view frame size, implement the IWebViewDelegate interface and override the ShouldLoad method and set this interface the WebView we already created.
Create NSMutableUrlRequest class and set request method as POST and set Header type as “application/json”
GetPostString method used for append all parameters as given below and set this returned string into the body of NSMutableUrlRequest class.
GetHash method used to convert the string into SHA512 format. And full source code is given below.
Step 3:
Run the application and get the output like the below video.
The sample in GitHub
Conclusion
If, you any issue in Key and Salt, just command below. This article credit goes to @anbumani27


0 Comments
You're comment here